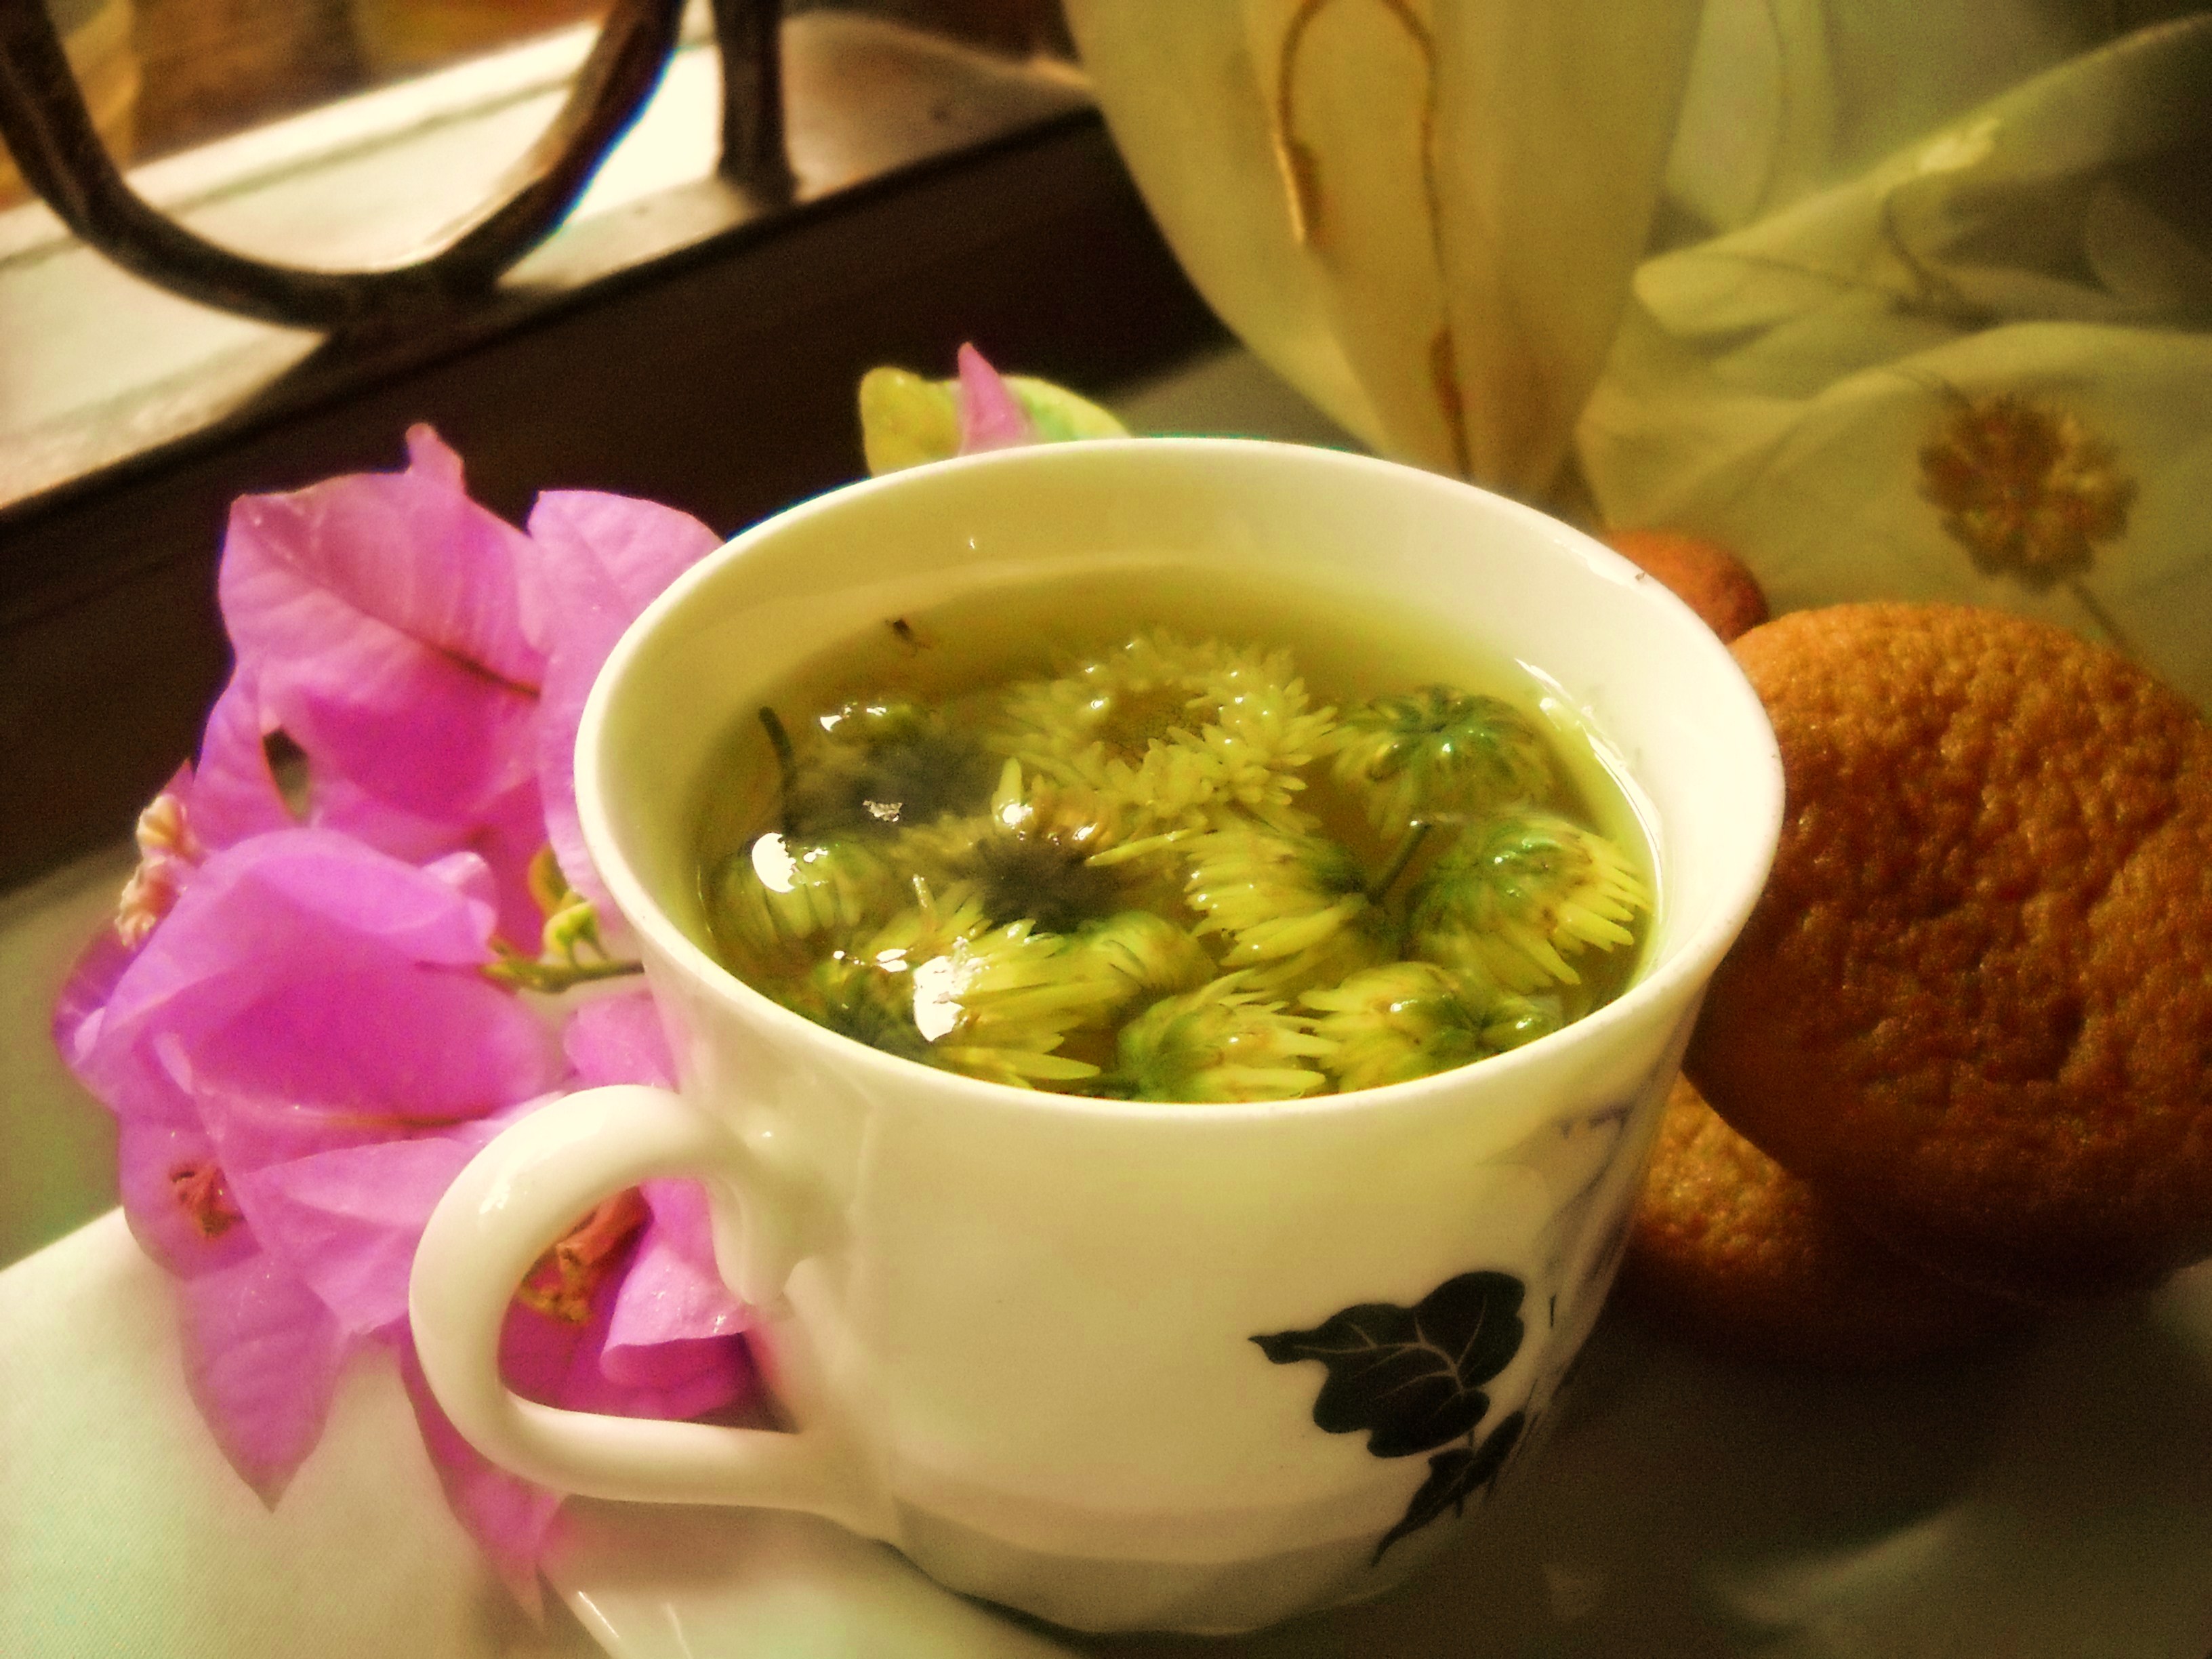
Welcome to Aislin’s Enchanted Path—a sacred space for modern pagans, witches, and seekers of magic. This blog features descriptions and embedded videos from our YouTube channel, exploring tarot, witchcraft, mythology, and spiritual practices. Whether you’re deepening your craft or just beginning your journey, walk the path with us and discover the magic in every step.
Monday, May 26, 2025
The Tools of the Craft - The Cauldron
Tuesday, January 26, 2021
Herbal Preparations: Tinctures
You might be asking why you should use tinctures if they're so difficult and even dangerous to produce. There are a couple reasons you might want to use tinctures, the first being that alcohol extracts plant material that is difficult to extract otherwise. Water works and extracts a lot, but alcohol is an entirely different substance. It just does different things, extracts other properties.
The second reason is actually even more important. Alcohol is a preservative. Herbs left in alcohol will not go rancid nearly as quickly as herbs in water. Even oil isn't as good a preservative as alcohol. So you can make tinctures weeks or even months in advance and still be able to use it when you need it. The downside is alcohol evaporates so much faster, so you absolutely must keep tinctures in a sealed container at all times. Don't leave the lid off or you'll have no tincture left in no time.
To make tinctures, you can't just use any alcohol, so don't run off and buy rubbing alcohol. It doesn't work for making tinctures. Rubbing alcohol is isopropyl, which is poisonous. You can literally kill yourself if you drink it. Even if you're making a tincture for external use, it will just stink. Do don't use isopropyl products, including rubbing alcohol.
You want ethanol for making tinctures. Ethanol is a grain alcohol that can actually be consumed. In fact, we do consume grain alcohols all the time when we partake of certain spirits. So you'll want grain alcohol (ethanol) for your tinctures. Probably the best product for making tinctures is Everclear, which is 190 proof (95% alcohol). It is perfect for tinctures, but it's also restricted in some areas so it might be difficult to find and obtain. If you can't get it, look for a 140 proof (70% alcohol) vodka. Stronger is better, but this will do. You can even use Bacardi 151 or another comparable vodka, but it will end up smelling like vodka in the end. The stronger alcohol will result in a finished product that doesn't smell quite so strongly of...well, alcohol.
A simple tincture doesn't make as much work as you might think. Start by grinding your herbs into a powder. They need to be as pulverized as possible. If you're not great at this step, consider purchasing your herbs already ground up to make the entire process a little easier. Measure out the plant material, then place in a container that seals completely. You don't want evaporation happening when you're not around, so there should be no vents in the container.
Add alcohol, but measure carefully. A proper tincture will have twice the amount of alcohol as plant material. If you added 1 cup of powdered plant material, you should add 2 cups of alcohol. You probably aren't making that much tincture at a time, but you get the idea. Put the lid on the container and shake hard, but only for a few seconds. It's alcohol, fumes are building up as you shake it. Shake for less than 10 seconds.
Take the lid off the container and let the tincture rest for about 10 minutes. This allows the gases that built up when you shook the mixture to be released. It's not always a necessary step, but it is a safe one. So let the mixture rest. Put the lid on securely.
Repeat this process three times a day for at least 2 weeks. 3 weeks is better. When you've done this, strain the tincture through several layers of cheesecloth to remove the plant material. Discard the cheesecloth. To test your tincture, place 2 drops on the inside of your wrist and wait for the alcohol to evaporate. If your wrist now smells of the plant material, your tincture is ready.
If you can't smell the plants you used, you have two options. Either add more plant material and repeat the process for another 2 or 3 weeks, or allow some of the alcohol to evaporate. This will strengthen the ratio of plant to alcohol in the tincture. Either way, you'll need a little time to adjust the material.
Using tinctures for their scent is very much like using a perfume. You apply it to the warm parts of your body and let the alcohol evaporate. When it does, you are left with a pleasant scent. So you can use the tincture method to create your own perfumes, if you like. Your perfumes will be personal and special, and they're not difficult to make.
Tuesday, January 19, 2021
Herbal Preparations: Teas
For the very best results, actively boiling water should not come into contact with metal. This means you shouldn't use a teapot or kettle with a metal lining, but you can use a kettle that has a ceramic lining. Many kettles these days have exactly that, so check before purchasing a kettle. Boiling water that has had contact with metal will produce an inferior tea, but you can absolutely use a metal strainer or tea ball for steeping the tea. This is one of the reasons you allow the boiling water to rest for a minute.
There are several different ways to make your teas. One popular way is to place the plant material directly into the teapot. No strainer, no bagging. Just right in the teapot. Boil the water in a kettle, allow the water to rest a moment so the boiling stops, then pour the water directly over the plant material. Allow the tea to steep for several minutes. This is a very beautiful way to make tea, especially if you're using a clear teapot. You can watch the plant material swirl as the tea deepens in color. When the tea is ready, simply pour it through a strainer into a cup and drink.
There are, of course, other ways to make your teas. You can bag your plant material using clean organza bags or even buy grocery store teas. Perhaps you like to use the tea balls that cage the plant material inside them. These spoons are only designed to make a single cup of tea, but that can be handy if you only need a single cup of tea. There are also cups that come with strainers. These are yet another way to enjoy only one cup.
Another great way to make teas is using a French press. You can get them almost anywhere now and they are quite useful if you're going to start making teas as herbal preparations. A French press is basically a small glass pitcher with a top. This top features a type of plunger with a screen. It's easy enough to use and they often come with instructions, but basically you place the plant material in the pitcher and top with hot water. Place the lid in place, making absolutely sure the plunger is above the plant material. This is important. Allow the tea to steep for as long as you like. Like other tea preparation methods, the longer you let it sit the stronger the tea will be. When you're ready, push down on the plunger. This will force the plant material into the bottom of the pitcher, trapping it. Pour the tea into a cup and enjoy. It takes about the same amount of time as a more traditional way of preparing tea, so consider investing in a French press if you're interested in making tea frequently.
Tea bags work, of course, as do tea balls. Tea bags can be purchased empty, but you won't save any money that way. They cost the same as they do if they're already filled and they have to be thrown out after one use. If you're only planning on using herbs that already come in teas, you can save yourself some trouble and use tea bags from the grocery store. They have peppermint tea, chamomile tea and several other types that might be useful. As long as they contain the real herb and nothing but the real herb, they'll do just fine. If you want to make your own tea bags, you can buy small organza bags made for just this purpose. These can be cleaned, if you like, and reused.
Tea balls work just as well. Place the plant material in the cage, close the cage, and let it steep. If you're going to use a tea ball, spend a little more and get a stainless steel one. Get a good one. Cheap ones don't seal well and will leave you with plant matter floating in your tea. Not great.
There's another way to turn your herbs into teas, one that takes a little time but gives you an extraordinary product and requires no boiling of water. Sun tea is a marvelous thing that has been used for centuries to create teas and concoctions used to heal people. It's simple to make and tastes quite delicious when served over ice.
Start with the right ratios. In general, you'll want about 2 ounces of plant material for every 2 quarts of water. If you want it more flavorful, add more plant material. You can really add as much as you like as long as you like the taste. Place the plant material and the water in a clear glass or BPA-free plastic container. Put the lid on and make sure there's just a little ventilation. You can leave the lid askew a bit if you like. Just make sure air can move a little bit. Just a little.
Set the container in the sun for at least one full day. This means you won't be drinking the tea until at least 24 hours after you start making it, so take this into account before you start. You may wish to leave the tea for longer. When the tea is ready, pour it through a strainer. For best results, serve over ice. It sounds like a lot of work, but sun tea is delicious. Give it a try. You may find yourself abandoning the kettle for a pitcher in no time.
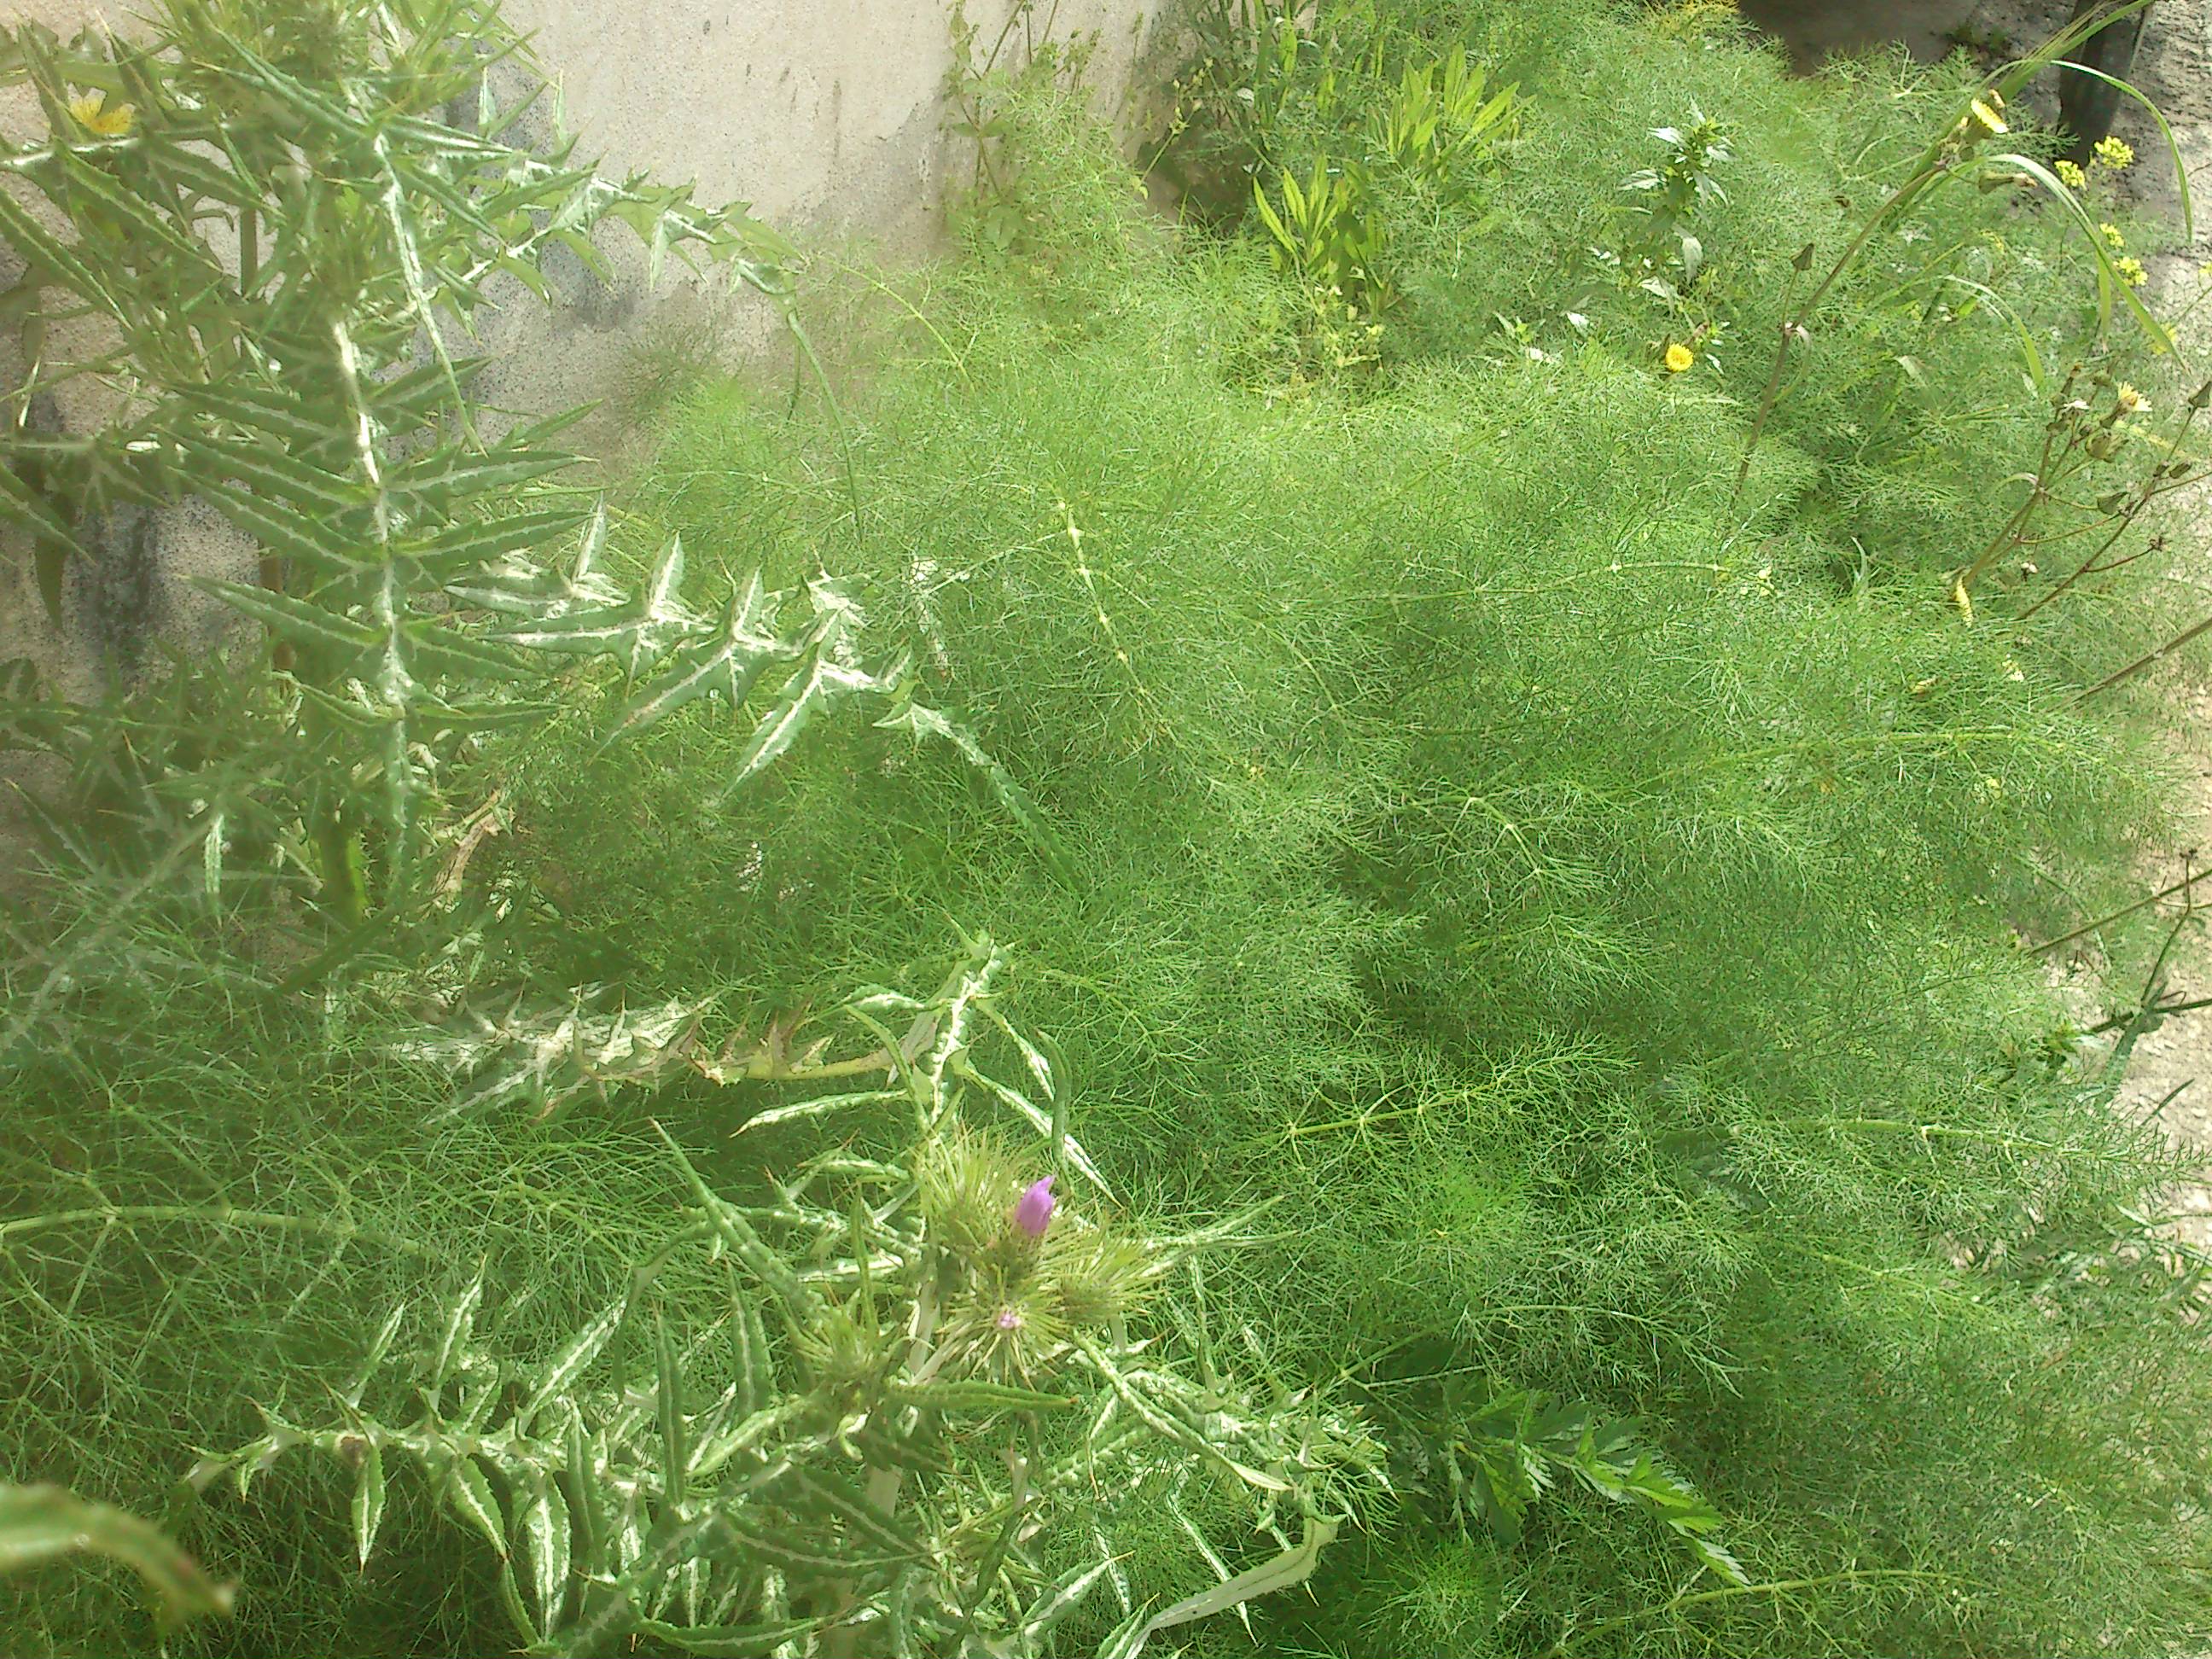
It's the ingredients in your tea that give it the magickal and medicinal properties, so choose your ingredients with care. And remember that not all herbs are meant to be taken internally. Research carefully before making your own teas.
Friday, July 15, 2016
Story Spells: Teaching Spellcraft to Young Children
About the book:
Children can cast spells too! Kids have wonderfully open minds and perfectly vivid imaginations. This makes them natural spellcasters. With a little guidance from a parent or other loving adult, they can create and cast their own spells. These spells can help children learn to deal with the widening world, make new friends, work better with others, or even banish nightmares.
Young ones are very literal minded. For this reason, when the idea of spells is first introduced, using stories that reflect their personal experiences and goals is the way to go. Though story spells work best for children ages 1 through 5, even older children (and their parents!) can have fun with this unique form of spell casting.
Friday, July 8, 2016
Ashling Wicca, Book Three
From the back of the book:
Venture further down the path into the magickal world of Ashling Wicca. The seven units of this book, which are designed to be completed over the course of an entire year, build on the skills and knowledge you should have gained in the first two books in the Ashling Wiccan Series. Each lesson will guide the student to a fuller understanding of the intricacies of the Ashling Wiccan Tradition. These lessons include both the practical and theoretical, and your magickal education will be rounded out by the inclusions of rituals and spells to assist you in your practice.
This book contains all the lessons traditionally studied by those seeking to attain Water Degree within Ashling Wicca. Because initiation into the tradition can only be obtained under the direction of a High Priest/ess, the material within these pages is presented by a High Priestess of Ashling Wicca. With careful study and attention, the student should be able to complete all included material in about a year. At this time, initiation into Water Degree may be possible.
From the back of the workbook:
This workbook, which is designed to complement Ashling Wicca, Book Three, will guide you further down the path towards a thorough understanding of the Ashling tradition. Full of tests, exercises, journal entries, and reflections, it can help you make sense of the material presented in the master book. It also provides various rituals vital to the practice of Ashling Wicca. Here you will find an initiation ritual, a handfasting ritual, and two additional Sabbat rituals.
This book should be used in conjunction with Ashling Wicca, Book Three. The units in each book are identical, allowing you to easily line up the written information from the master book with the tests and other materials in the workbook. Use both to continue your study of the art of Ashling Wicca.
Friday, October 2, 2015
Herbal Preparations: Soaps
Friday, August 14, 2015
Herbal Preparations: Salves
Friday, August 7, 2015
Herbal Preparations: Poultices
| A poultice of red clover on a rash on my own leg. |
Friday, June 5, 2015
Herbal Preparations: Oils
There are many base oils to choose from. you might consider almond, apricot kernel, avocado, coconut, grapeseed, hazelnut, olive, palm, peanut (if you're not allergic), sesame, or sunflower. To decide which one best suits your purpose, do a little research. Look up the properties of sesame or sunflower and decide if any of those properties make sense for your purposes. Or you could simply use jojoba oil as your base or carrier. This oil is good for almost any purpose and it has the added benefit of not going rancid. All other oils, including the ever-popular olive, will eventually become rancid and unusable. You can, of course, use a preservative such as wheat germ oil or rosemary oil extract, but I prefer to simply use jojoba and avoid the problem altogether.
When creating your oil preparations, you'll have to take into account your own personal sensitivities. Some people, for example, can place certain oils almost undiluted on their skin. Others may find that the oil in question must be diluted significantly before it can be applied. For this reason, you may have to add more or less carrier oil to your final mixture before use. Also remember your own allergies. If you're allergic to cinnamon, you probably cannot place its oil upon your skin no matter how much you dilute it. In general, however, it is best to start off with a ratio of 20 to 25 drops of pure essential oil to approximately 2 ounces a base or carrier oil. You can then make this mixture stronger or weaker depending on your own preferences and needs.
At first, you will probably want to stick with proven recipes when creating herbal mixtures. In time, however, you will certainly want to experiment a bit. When doing so, look back at the proven recipes and see what you can tweak to better suit your own personality and style. As long as your oils are not too concentrated and you're not using anything you're actually allergic to, there is little harm in this type of herbal preparation. Just keep most herbal mixtures away from your mucous membranes and out of your eyes and you should be fine.
Remember that all of the above assumes you are working with pure essential oils. Fragrance oils have no place in magical or medicinal practice. They might smell good, but they are otherwise useless.
Friday, May 15, 2015
Herbal Preparations: Incense
The best and most effective incense will always be the non-self-igniting type. This kind of incense is most easily prepared by simply grinding the herbs you need in a mortar and pestle. After mixing the herbs in accordance with your needs and perhaps the recipe you're following, you simply burn the resulting mixture on charcoal disks. This is the most effective type of incense and is certainly worth a little time grinding up herbs. Charcoal disks are fairly inexpensive, so this method can be cost effective as well.
You can, if you like, use a pure wood powder as a base and add essential oils and other extractions. This works much like the non-self-igniting incense in that it has to be burned atop charcoal disks. I don't generally recommend this type of incense because it is much harder to prepare, but it is certainly an option.
Self-igniting incense is another story entirely. Fair warning: I really do not like self-igniting incense. Most of it is little better than scented sawdust and saltpeter. It burns all right, but because it uses very little actual herb, it has no real medicinal or magickal value. Even if you can manage to create an incense that is mostly herb and saltpeter, the saltpeter interferes with the scent of the herbs, thereby making it less effective than non-self-igniting incense. And most certainly you should not use self-igniting incense you find in stores. Smells great, yes, but it's worthless. If you want self-igniting incense, experiment with saltpeter and herbs until you find a mixture you like.
Then we come to the matter of incense sticks. Though sticks are convenient, NEVER buy them from a store. Almost without exception these sticks are made of resin and fragrance oils (at least in North America and most of Europe). Since fragrance oils do not have the properties of essential oils (which comes from the natural herb), they are useless for your magickal or medicinal work. Now if they made them from essential oils...but this is rarely done because the cost would be astronomical. If you can buy the incense sticks for a quarter a piece, they're certainly made with fragrance oils no matter what the sales person says.
So what about making them yourself? Well, it's possible. I have had some success dipping my own incense sticks in a mixture of resin and essential oils. I've used both wooden sticks and charcoal sticks, and both have their benefits. The wooden sticks are cleaner, but the charcoal sticks produce a superior scent (but they do make a mess). So you can certainly make your own stick incense that will work for your purposes, but be aware that this is a time consuming process. Finished sticks will have to dry for a few days (don't try to quicken this process in an oven) so you won't be able to use them immediately. Still, the process can be a fun craft if you're in to that sort of thing.
The best way to make incense is simply to grind the herbs and burn them (even by throwing them into a fire instead of using charcoal disks). There are other methods, obviously, but in this case, simple is best. Experiment, if you like, but don't skip over the easiest and most effective method for preparing incense.
Friday, April 3, 2015
Herbal Preparations: Candles
To create candles that will be effective in magickal or medicinal work, you must use either essential oils or powdered herbs to scent your candles. Synthetic oils, while cheap, are not at all useful. If all you want is a scented candle, fine, use synthetic. If you want a more magickal candle, however, you'll have to purchase quality supplies.
Powdered herbs are certainly the easiest way to make herbal candles. Just add powdered herbs to the melted wax, pour, and there you go. Sort of. If you aren't careful, a candle that includes powdered herbs can actually light on fire, and I don't mean just the wick. When you're powdering your herbs, they need to be really fine. I mean so fine they could float. Otherwise they can actually catch on fire, acting as a second wick and really ruining your day. And never, ever, put herbs on the top of your candle, even if you think it looks really pretty. You'll light the wick and suddenly everything will be on fire. No good.
The other thing to watch out for is concentration. If the herbs are too concentrated, you'll end up with a fire no matter how fine the herbs are. This means you can't add too much of the powdered herbs to your wax. Add no more than a single tablespoon of herbs to a full pound of wax. Seriously. And make sure the herbs are evenly disturbed throughout the wax. This should help you avoid any unexpected fires.
Essential oils are another problem altogether. You might think you can just add them to the wax, and you can, but heat breaks down the essential so it's really not the easy. There's a reason most commercial candles are made with synthetic oils. But you're not using synthetic oils, are you? Are you?
No? Good. To effectively use essential oils to scent your candles, you need to use a low temperature to melt your wax. If it takes you an hour to melt that pound of wax, that's great. Good temperature. Keep it low and do not add hardeners to your wax. Just don't. It won't work out well.
As for how much to add, well, I find that no more than 2 ounces for a pound of wax is best. 1 ½ ounces is even better. If you're trying to convert an herbal recipe (that uses essential oils) into a candle recipe, see the 'drops' used in most recipes as 'parts' and you should be fine, as long as your total oil doesn't exceed 2 ounces. Also, don't add a base oil when crafting candles. They really don't need it. It only takes away from the small amount of oil you can add to your wax without creating a problem.
Once final warning, add your herbs or oils right before you pour the wax. Heat breaks things down no matter how low the temperature. So add colors and such before you add herbs and oils. Make sure your herbs and oils are distributed evenly, then pour your wax immediately.
Candles may not be the most common herbal preparation, but they are at least easy to make and use. Take advantage of them when you can.
Friday, February 6, 2015
Herbal Preparations: Baths and Soaks
The easiest way to create a bath or soak is to use a bit of cheesecloth to completely enclose the plant material. Make sure not a bit of it escapes. You can also use an organza bag if you like. I prefer the bags because I can clean them and reuse them, but you might like the cheesecloth. You could, of course, just leave the herbs loose, but they cling to your body or the tub or they may even clog your drain. Do yourself a favor and contain those herbs before they cause a problem.
Don't use powdered herbs. They don't stay in the bags and they can irritate the more sensitive areas of the body. Use herbs that are large enough to stay inside the bag you use.
Once you have your bag or packet prepared, it's time to draw the water. Don't use warm or lukewarm water for the bath. Instead, drop the herb packet in the bottom of the tub (or container if preparing a soak) and draw the water as hot as possible. Close to boiling is best. Allow the herbs to steep as the water cools to a tolerable temperature. This may take a while, especially if you're using an entire bathtub of water, so be patient. You may have to wait up to sixty minutes to be able to use the water, but allowing the herbs to fully take effect is worth it.
Once the water has cooled to a tolerable temperature, sink into the water (or immerse the body part that needs to be immersed) and relax. Most recipes for baths and soaks will indicate how long you should stay in the water. If this information is not given, assume that you should stay in the water until the fingers or toes begin to wrinkle. You might want to light candles or incense to compliment the purpose of the herbal bath.
Baths and soaks are a popular way to utilize the magickal and healing properties of many herbs. Not all of them, however, are water soluble and some are toxic, so do your research before preparing an herbal bath or soak.
Friday, January 30, 2015
Herbology: Extraction Methods
Infusion
This method is absolutely the most common in herbology. It is simple, typically quick (in term of effort, not necessarily time), and doesn't require much in the way of equipment. Do you have a glass jar and some water? You can make an herbal infusion. Feel free to do so in your own home with the materials you have on hand.
The infusion may be either hot or cold. In a hot water infusion, the water is boiled, then taken off the heat until its not boiling, and poured over the herbs while still hot. Because boiling water can destroy some of the medicinal properties of herbs, waiting until the boiling stops is essential. Cold water infusions are done when the water is no longer hot at all.
Hot water infusions are faster because they extract the medicinal properties of herbs faster. They are not, however, always the best choice. Some of the more delicate herbs are better done in a cold water infusion, even if you have to set the infusion in the sun for a week before using it. Always consider the particular herb before choosing an infusion method.
Decoction
Though this term can be used to refer to any preparation created by using boiling water, it is typically used in herbology when the extraction made is to be boiled into a concentration. Though you might call the non-concentrated liquid a "tea", this liquid has little medicinal value. It is simply not concentrate enough, so the decoction is almost always boiled down. This method is easy enough to do at home.
Bear in mind that boiling an herb often destroys some of its more subtle medicinal properties, so it's not ideal in most cases. Still, there are decoctions that are highly effective, so keep this extraction method in your back pocket until you need it.
Tincture
Tinctures are basically infusions made with something other than water. Grain alcohols are the most common, but you can also make them with vinegar and wine (which is not grain-based). Like infusions, this one is simple to do at home. Since you don't generally heat the alcohol, tinctures typically take at least a few hours to prepare. Luckily this method also allows you to ignore the tincture for a while, so you're not actually having to tend it all day.
Maceration
There's a lot of confusion surrounding this term, so I'll be very clear. A maceration involves soaking plant material in liquid for so long it becomes a pulp. The liquid can be anything from water to alcohol to vinegar. This method take a long time and is quite irritating (because sometimes it all starts to ferment on you and you have to start all over again). Luckily, macerations aren't all that common in modern herbology.
Expression
This one should be easy enough to remember because to make an expression you "express" the liquid directly from the plant material. Note that you are not adding any of the plant material to your preparation. There should be no pulp in your expression. Think of it like making orange juice. You can squeeze the orange to get a pulp-free expression or you can twist the orange on a juicer to get a pulp-juice mix. With expressions you are after just the juice, not the pulp.
Expressions are not easy to make at home unless you have the right equipment. If you want to make your own expressions, invest in professional-grade equipment to assist you.
Percolation
If you've ever made percolated coffee, then you already know how to make a percolation. This extraction method can be done at home. You're better off buying professional equipment, but you can make due if you have to. To make an herbal percolation you'll need the following materials:
- a large pot
- a screen suspended in the vertical center of your pot
- a domed lid for the pot that does not have a handle
Now you can either make a cold water percolation or a warm water percolation. Fair warning: cold water percolations take a LONG time. Days. Many, many days. If you warm the water gently, the entire process happens faster (though still not fast). Either way, you should see water condense on the lid as it evaporates, roll down to the tip of the dome, and drip onto the herbs. You can speed up the process by putting ice on the inverted lid, but it will still take a while. This is not a method I recommend at home because of the frustrations involved.
Reflux
I'd rather eat glass than make a reflux at home, so do yourself a favor and leave the refluxing to the professionals. Refluxes are basically percolations using something other than water. Alcohol is the most common. Since alcohol tends to ignite on the stove, you absolutely must have professional equipment for this method. And hopefully a professional to show you how to do it. Don't do this at home.
As you can see, some of these methods are easier to pull off at home than others. Most recipes you will encounter will either be tinctures or infusions (or may just use the whole herb instead), so you don't really need complicated equipment. Just space to store your creations.
Friday, January 23, 2015
Herbology: Whole Herb or Extraction?
Okay, so we can't always just eat the herbs we'd like to use. But why are there so many preparation methods? Why can't we just always brew a tea, or burn the herbs so that we inhale the active ingredients? Again, these methods work fine for some herbs but are useless for others. If the active ingredient you need isn't water soluble, a tea isn't going to help. A tincture, which uses alcohol to extract the active ingredients, might. As for using smoke, this only works for a few specific herbs and it's no good at all for anyone who can't inhale smoke (like my entire family).
The Pagan community often works on the premise that if it feels right, it is right. This is a dangerous idea when it comes to herbs because herbs are really a little more scientific. Does it feel right to use the plant in your backyard to cure your headaches? Oops, that was nightshade. Unless you understand the dosage and extraction method of nightshade, you could be in real trouble. It is poisonous, after all.
It is vitally important that you understand an herbs properties and the forms in which it is safe to administer. Some herbs are fine to ingest, but toxic when inhaled. Others are safe to inhale, but will give you a blistering rash if applied to the skin. And there are a few herbs that are safe to ingest as tinctures but toxic as teas. Knowledge of the herb as a whole is necessary before you begin working with any plant.
As an example of this, consider cinnamon. It's a common herb in both spellcraft and cooking, so you're highly likely to use it often. It can be used during ritual baths by adding the whole herb to your bath. It can be used in cooking in its powdered or shaved form. Its oil can be used to anoint candles and other items. But if you put the powdered version in your bath, you'll have a mess on your hands. Add the oil to your bath (or apply it directly to the skin) and you'll burn yourself. Add the whole form (or even the shaved form) to your candles during recipes and you'll start a fire.
Basil is another example. In its dried form, you can use it for money spells. Its fresh form can be rubbed on beestings to lessen irritation. But the dried form doesn't help beestings at all, while the fresh form can be used in spells if you like.
As you can see, you can't always take the easiest route. If a recipe calls for the oil form of an herb and you use the dried form, you may not get the results you desire. Easy doesn't always equal best, so tread with care. Study the herbs you'd like to use to best discover what method of herbal preparation is best suited for your purposes.
Friday, January 16, 2015
Herbology: Storing Herbs
Before you even attempt to store your herbs, make sure they're truly dry. Any hint of moisture and they're mold in short order. So give your herbs time to dry thoroughly before you attempt to store them.
Once they are dry, the best way to store them is with a vacuum-pack system. You can purchase these systems at most cookware or home stores. There are two downsides to a vacuum system. First of all, they can be expensive and not everyone wants to spend that money for storing herbs (even though the vacuum system can be used for other foods as well). The second problem is one of convenience. Every time you open a package to get a teaspoon of herbs, you have to cut open a package and reseal it with the vacuum system. That can get annoying.
So if you opt not to use a vacuum-pack system, your next best choice is glass jars. You can get jars in all sizes from almost any grocery or home store, and you can get them in a variety of sizes. I like the smaller ones because I rotate my stock frequently, though I use larger jars for the herbs I use a lot of. Before you actually store anything in these jars, sterilize them with boiling water and dry them thoroughly. This will help protect the herbs from bacteria and keep them fresh longer.
Always store dried herbs in cool and dry place. They should also be kept out of direct sunlight. I use a cupboard with a solid door and good ventilation, one that I only open one or twice a day. This seems to work well, but any place that keeps the herbs cool and dry should work well enough.
Even dried herbs don't last forever, so make sure you rotate your stock. I like to make sure jars are emptied and replaced at least every six months. Since I use my herbs faster than that, this isn't usually an issue. But I do write dates on my jars just in case. After six months, dried herbs really do lose their potency, so make sure you're not using herbs that have been in the jars for a year.
Some fresh herbs can be frozen, but this doesn't work as well as drying them and storing them appropriately. Whatever method you choose for storing your herbs, make sure you label your herbs. It's not going to help to have no idea what's in each jar or bag.
Friday, January 9, 2015
Herbology: Drying Herbs
Bear in mind, however, that when using fresh herbs, you'll usually need more than you would if the herb was dried. This is because fresh herbs contain a great deal of water, water that is removed through the drying process, making the dried version much more potent. As a general rule, you'll want to use three times the amount of fresh herb, so if a recipe calls for 1 tbsp of dried lavender, you would use 3 tbsp of fresh lavender.
So fresh is better. But what if you have a bunch of herb on the vine that needs to be harvested all at once? It happens, and quite often. In this case, you'll want to store them for future use. You can, of course, store fresh herbs in a plastic bag for up to two weeks. Simply fold them inside a paper towel, place the entire thing in the plastic bag, and place the bag in the fridge. But what if you're not going to be able to use all your herbs within those two weeks? Well, drying is your best option. There are different methods for drying, each one dependent on the part of the plant being used.
Drying Leaves
Leaves are the probably the most common item to dry, at least in a home setting. They're also pretty easy to dry. Simply separate the leaves and place them on a drying sheet. If you don't have a drying rack, use a cooling rack, the kind you put cookies on to cool. Place this rack in a location where it will not be disturbed by anyone, making sure not to expose the leaves to direct sunlight or sudden changes in temperature. Turn the leaves twice a day until completely dry. Under normal conditions, your leaves should be dry within a week. If mold develops, discard affected plant material.
Drying Flowers
If you really get into growing your own herbs, you'll often find yourself drying flowers. There are basically two ways to do this--on the stalk and off the stalk. If you dry them off the stalk, you can dry them just like leaves. Personally, I prefer to dry them on the stalk. I've just had better results. Take your stalks, complete with flowers, and invert the entire thing, then hang it that way. I like to use clothespins on a string in my temple, but you can use any system you like. Just make sure your herbs have a steady humidity and temperature, and give flowers at least a full two weeks to dry.
Drying Berries
If you're drying berries, which I do all the time, it's best to dry them on the stalk just like flowers. Absolutely keep them out of direct sunlight and give them a full month, sometimes six weeks, before you try to bag them. Make sure they'll fully and completely dry before you even attempt to bag them.
Drying Seeds
I love drying seeds because it's just so easy. First, separate them from the plant and remove any excess plant material. then get a piece of cheesecloth or an organza pouch or something similar. Hang the bag just like you would hang berries or flowers, making sure to shake the bag once a day to rotate the seeds. Seeds normally take two to four weeks to truly dry, so be patient.
Drying Roots
I hate roots. Hate them, hate them, hate them. Why do I hate them. Because they take forever to dry. And when I say forever, I mean about a year. Seriously. They might look dry after a month, but the inside is not dry. Not at all. They really need nine to twelve months. You can use drying racks, but since the roots have to dry for such a long time, I prefer to use organza bags (pretty ones) and hang the roots like I would seeds. Then I can ignore them for a year. Just remember to check for mold periodically.
There are other ways to dry herbs, including using a food dehydrator or even the oven, but the faster you dry herbs, the more of their potency you'll lose. So take your time, dry them naturally, and enjoy the fruits of your labor.
Friday, December 26, 2014
Ashling Wicca, Book Two
From the back of the book:
This book, continuing where Ashling Wicca, Book One left off, takes the student even further into the mysteries of this wonderful tradition. Begin learning what it is that makes Ashling Wicca so beautiful. This book is the second of five in total and serves to bring the student deeper into Ashling Wicca. Lessons include both the practical and the theoretical. Because initiation into this tradition can only be acquired under the direction of a High Priest/ess of Ashling Wicca, this material is presented by an expert on the tradition, a woman who has been trained to teach Ashling Wicca to students of the Craft. Here you will find the information necessary to continue following the Ashling path.
From the back of the workbook:
This workbook, which is designed to complement Ashling Wicca, Book Two, will further deepen your understanding of the Ashling tradition. Full of tests, exercises, journal entries, and reflections, it can help you further grasp the material presented in the master book. It also provides various rituals vital to the practice of Ashling Wicca. This book should be used in conjunction with Ashling Wicca, Book Two. The units in each book are identical, allowing you to easily line up the written information from the master book with the tests and other materials in the workbook. Use both to begin an earnest study of the art of Ashling Wicca.
Friday, October 10, 2014
Herbology: Harvesting Your Herbs
First, don't just pluck the parts you want right off the plant. That actually damages the plant. Use a sharp blade (or sharp shears) and harvest in fluid motions. This will help keep the plant healthy so you can harvest it again and again. It also will result in better quality herbs for you.
The next thing you want to do is look at a calendar, one that indicates when the full and new moons fall. Why? Because the tops of herbs, the parts that grow above ground, are best harvested when the moon is full or when it is waxing (growing larger). The roots, the parts that grow below ground, are best harvested when the moon is new or when it is waning (growing smaller).
This doesn't mean you should harvest your herbs at night. Just the opposite. If you want to preserve the plant, harvest herbs during early morning hours. This will allow the sun to help heal the plant during the day. This does not apply if you're harvesting the entire herb, of course, because nothing will be left behind to heal.
If you want to get really complicated about it, you could determine the planetary ruler of each plant you plan to harvest, then look up the hour associated with that planet, but this isn't strictly necessary.
Leaving Offerings After Harvest
It is often natural instinct to leave something behind when we take something away, and this is a good thing. Usually. Unfortunately, many times those who harvest herbs will leave the wrong offerings. I've seen people leave bread, fruit, honey, and even wine as offerings. All of these things, as well as anything else that could be classified as 'human food', should absolutely be avoided. Food attracts bugs the plant may not have had to cope with before, and wine...let's just say herbs don't appreciate alcohol. It kills the roots in most cases, so don't pour wine as an offering.
So what can you leave as an offering? There are many ideas. If you're gathering your herbs in the wild, why not bring some plant food? You can get it in tiny little sticks that you can shove into the soil as your offering. Don't like that idea? Maybe some natural spring water to water the plants you're collecting from. Plants appreciate these things, and they won't attract bugs or kill the roots. These offerings also work for your outdoor garden.
For plants in your own home, you can get more creative. I'm assuming you take regular care of your plants, meaning they have food and water already. So an appropriate offering might be to add crystals to the soil of your potted plants. Use crystals with similar qualities to the herbs you're harvesting. Offerings of this sort will be well received and do no damage.
Harvesting your herbs is one of the more satisfying aspects of herbology. You finally get to hold the fruits of your labors in your hands. Just be mindful and respectful as you work and all should go well.
Friday, July 4, 2014
Herbology: Finding Your Herbs in the Wild
That being said, wild herbs such as sage and thyme are excellent in herbal recipes. You'll want to carefully pick the areas you harvest in, however. Stay away from highways, rivers that are polluted or have EPA warning issues against them, public parks, and farmland. Highways and polluted rivers are obviously not ideal. Too many chemicals involved to give you a decent product. When it comes to farmland, consider that most farms use pesticides and fertilizers to grow their crops. You never know when the chemicals were used, so they might be at their most potent when you collect your herbs.
Public parks are an interesting conundrum. In some cases, they're perfectly safe in regards to chemicals, but you may not be permitted to gather wild plants there. Many, if not most, public parks have rules against picking the flora, so it's generally best to find a forest, field, or other area that is not specifically designed as a public park. If you do want to gather on parkland, make sure that particular park allows you to harvest herbs before you gather up your supplies and set out.
The other problem you may encounter is gathering on private land. Not all fields and forests are fair game. Even if it looks like the field is abandoned, it could still be owned by someone. Herbs on private land belong to whoever owns the land. Sure, your neighbor might not mind if you gather the dill growing freely in his backyard, but I bet the farmer with a field of ginseng won't be as willing to part with a crop that makes him money. Ask first.
A further word of advice: don't collect mushrooms, no matter how good your guide is. My great-grandfather was an expert, and even he eventually picked a poisonous mushroom. He died the next day. Mushrooms are sneaky devils, so if you are using mushrooms in an herbal recipe, buy the mushrooms.
When you are gathering your herbs, you should make sure you have the correct supplies. You'll need something to cut the herbs since tearing damages the plants. You can use your bolline or a sharp pair of scissors. You'll also need something to carry herbs home in. Do not use plastic bags as these promote rot. Instead, get yourself a mesh bag, preferably one with several different pockets for different herbs. The mesh allows the air to pass freely around the herbs, keeping them from even starting to rot. They'll dry instead, which is a much better option.
If you keep the above in mind while you're searching for wild herbs, you should be well on your way towards gathering something worthwhile. For myself, I gather wild cedar, pine, willow, birch, and a few other trees. I also have access to wild sage and thyme, though I prefer to grow my own. You can choose which plant materials you'd like to grow, which you'd like to buy, and which you'd like to try gathering wild.
Friday, June 13, 2014
Herbology: The Benefits of Growing Your Own Herbs
Many people argue that they simply don't have time to grow their own herbs. These same people state that the dried herbs you buy at the grocery store are just as good as anything you can grow at home. This is actually an easy debate to settle. Let's start by addressing time. There's hardly any time commitment at all if you're only growing a few choice herbs in your window. You plant, water, occasionally add plant food, and harvest when you have a need. You don't do any actual work. The plant is the one that has to do all the growing. If you have a sunny window and a ready source of water, you can grow herbs.
The second part of the debate requires you to do a little sampling. Pick a fresh sprig of basil. If you don't have any growing at home (if you do, better yet) head to the nearest supermarket that stocks organic produce. Most of these stores will have a small selection of fresh herbs to choose from. Basil is usually among them. Place the fresh basil in your mouth and chew, savoring the taste. Rinse your mouth with water and chew on a few bits of dried basil. Notice the difference?
Fresh, healthy basil always tastes better than dried. Always. There is no exception to that. If you're going to use dried herbs, try and dry them yourself. At least then you'll know how old they are. With the packaged herbs, you really don't know when they were dried. Taste dwindles with age, so it makes sense that other properties might as well. It's entirely possible (and likely, giving the anecdotal evidence) that older herbs are less effective when it comes to healing. Fresh is better. Always.
Using fresh herbs will make a difference. If you're still not convinced, try a fresh apple from the tree. Or a tomato from your garden. Or just about anything you grow instead of buy at your supermarket. It will all taste better than anything packaged. If you really can't grow a certain herb yourself, check your local farmer's market. They have a lot of herbs that you probably won't.
Besides having a fresher product that will be more effective, growing some of your own herbs is relaxing and satisfying. You can also see exactly what you have left by glancing at the window. And if you've never had the scent of fresh basil, oregano, or thyme (my favorite is lemon thyme) wafting through your kitchen, you don't know what you're missing.
In the end, the greatest benefit of growing your own herbs might be that you have total control over the final product. You get to decide what soil you want, what plant food to use, whether or not to use pesticides (hint: don't use them), how to harvest, and how to dry or otherwise store the herbs you've gown. You get exactly what you put in, and that is a comforting thought.
Friday, June 6, 2014
Herbology: Aquiring Herbs and Oils
Once upon a time, long ago, back in the early 1990s, you couldn't just order exotic herbs over the Internet. Herbs had to be grown at home, or purchase from someone who did grow them at home, and oil had to be expressed or distilled if you couldn't find a local retailer. Today, however, you can order dried herbs, live herbs, or even their essential oils from a variety of reputable sources. This means today's practitioners have many more options. You can grow everything, purchase everything, or purchase only some things. It's really up to you.Growing or Purchasing Herbs
Some people will tell you that you must grow and harvest your own herbs, but let's be realistic. I use over a hundred different herbs in my practice, and I live in an area where many of them simply will not grow. Yes, I can grow common ones such as basil, oregano, sage, rosemary, and thyme. I also grow lavender and lilac, and elm, pine, cedar, and willow are common in my area of the world. But some herbs just don't grow well here, or don't grow well for me. I've never had any luck with eyebright, for example, and cohosh of any variety just doesn't like me. Growing them all myself is just not practical.
So what are we to do? Well, growing your own is ideal, and herbs you grew and harvested are three times more effective than those you bought off a shelf (or from an Internet provider), but buying herbs is a fact of life for most of us. So choose no more than five or six plants to grow yourself. Pick easier ones such as basil or thyme. Lavender also grows well and has a variety of uses. I would also suggest sage and oregano, as all these herbs can also be used fresh in cooking. They also can all be grown in a window sill.
If you're lucky enough to live near a greenhouse that allows you to harvest your own herbs, check and see what they offer. You might be able to harvest rosemary, cohost, fennel, eyebright, and many others. You'll have to pay a fee, of course, but herbs you've harvested yourself (but that someone else has grown) are twice as effective as those you've purchased. It's also possible to collect herbs that grow natural, such as dandelion or willow, but collect only from pesticide-free areas. And make sure you know what you're collecting.
Finally, there will be herbs you need to purchase. I always purchase my belladonna and my eucalyptus, for example. Just make sure you're dealing with a reputable source, especially when ordering from the Internet. Looks for stores that have been in business for a decade (or close to it) and who have good reviews. Talk to people about where they get their herbs; you'll find the best sources that way. And remember that not all Internet shops can ship to your location. Herbs are often checked or even confiscated when crossing international borders, so go local (or at least within your own country) if at all possible.
Don't forget to check your local grocery store, especially in the organic area. You'd be surprised what the supermarket carries.
Acquiring Essential Oils
Finding quality oils can be tricky. Real essential oils are distilled or expressed from the most fragrant part of the plant. You can also find absolutes, which are similar to essential oils except they've been created with the assistance of a solvent. Some oils are labeled as 'essential oil' when they're really no more than a fragrant oil, and fragrant oils only smell like the real thing. They are not all that useful in herbology.
For the most part, real essential oils will come from India, Egypt, or one of the countries in that area. It is here where essential oils have been produced for thousands of years, and they've really go it down to a science. True, a local shop could produce their own oils, but it is so expensive to do so that most (if not all) can simply not afford it. Instead of going broke trying to produce their own oils, most shops will simply offer their own blends (or someone else's) at decent prices. The problem with this is that you don't really know what is actually in the oil. Most 'magickal oils' are nothing more than fragrant oils blended to smell nice. These are not essential oils.
Some oils will have the word 'essence' on the label, but will not actually say 'essential oil'. Beware of these. 'Essence' means scent, and usually they don't even smell all that great. Even if they do, they probably don't smell like the actual plant. Avoid these at all cost.
So where are you going to get essential oils? The truth is most Pagan or metaphysical shops don't stock them. It's not because they don't want to, but more because clients aren't buying. If a customer sees 5ml of rose oil for $15 at one shop, but can find 5ml for $3 down the street...you can guess where they go. Most don't know, or don't care, that the $15 oil is the useful stuff. Even metaphysical shops have to cater to their clientele, so unless you live in an area where there the customers actually want essential oils, your shop won't have them.
The good news is that they can absolutely be ordered from a variety of shops on the Internet. Check the reputations of the shops you find, make sure they ship to your country, and make absolutely sure the oils say 'essential oil'. Anything less is not worth your time.
One more word of warning: some plants don't have an essential oil, or even a fragrant oil. This is because some scents are entirely water-based, and as such don't have an oil form. This is especially true of strawberry, watermelon, and that newly mown grass smell people are so fond of. These oils are almost certainly synthetic. There's nothing wrong with using these oils for aromatherapy (and I do), but they are not appropriate when practicing herbology.
When growing or acquiring your herbs and oils, take the greatest care. Your plants should be of the upmost quality. If you can't grow a good plant, buy it, but make sure your source is giving you only the best.


